MAKING OF - MTV LIVE / ACOUSTIC
INTRODUCTION
This is one of five spots created for MTV Live, each was themed around familiar broad music genres: 'Rock', 'Pop', 'Urban', 'Dance' and 'Acoustic'. This collection of clips and images follows the process from beginning to end and addresses the numerous technical challenges along the way. We used Cinema 4D and Vray.
View the full project with credits here. Directed by Zeitguised. This case study focuses on the spot I worked on the most, on which I was helped out more than a few times by my good friend and colleague Julius Steinhauser! Compositing and grading by the ever talented Marian Pramberger.
MOOD BOARDS
Note: These reference images are not owned or created by me. They are collected inspiration.
The starting point of the Acoustic spot was an 'outdoor' environment hosting soap bubbles.
I always go through a couple of rounds of collecting images. It helps start a basic visual onversation in the studio and with the client, and later on provides vital reference for detail, lighting, texture etc.
One thing we noticed early on regarding bubbles included the fact that they could withstand extreme deformation but always 'try' to return to a sphere, (meaning a 3D version of my favourite scene from Dumbo would be tricky to sell visually). Another was that darker backgrounds were necessary to create the high contrast detail present in most attractive bubble photography. This second point turned out to be one of the main challenges throughout the project.
EARLY BUBBLE DEVELOPMENT
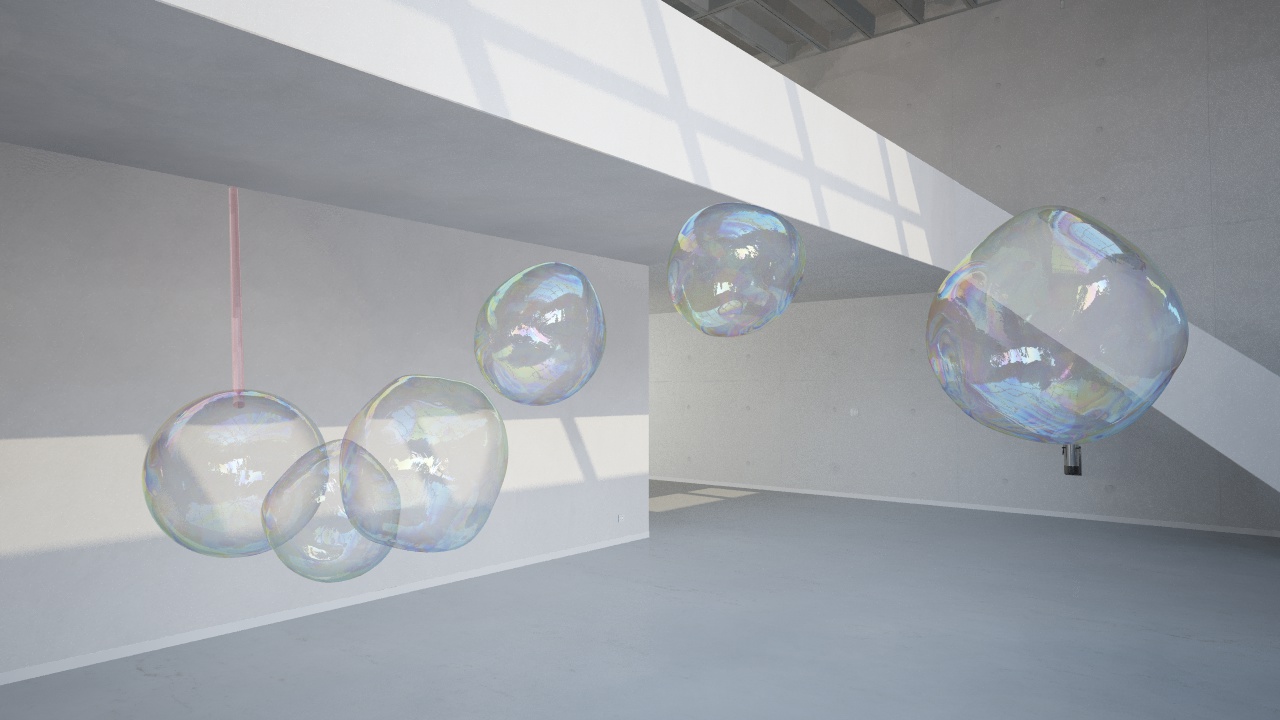
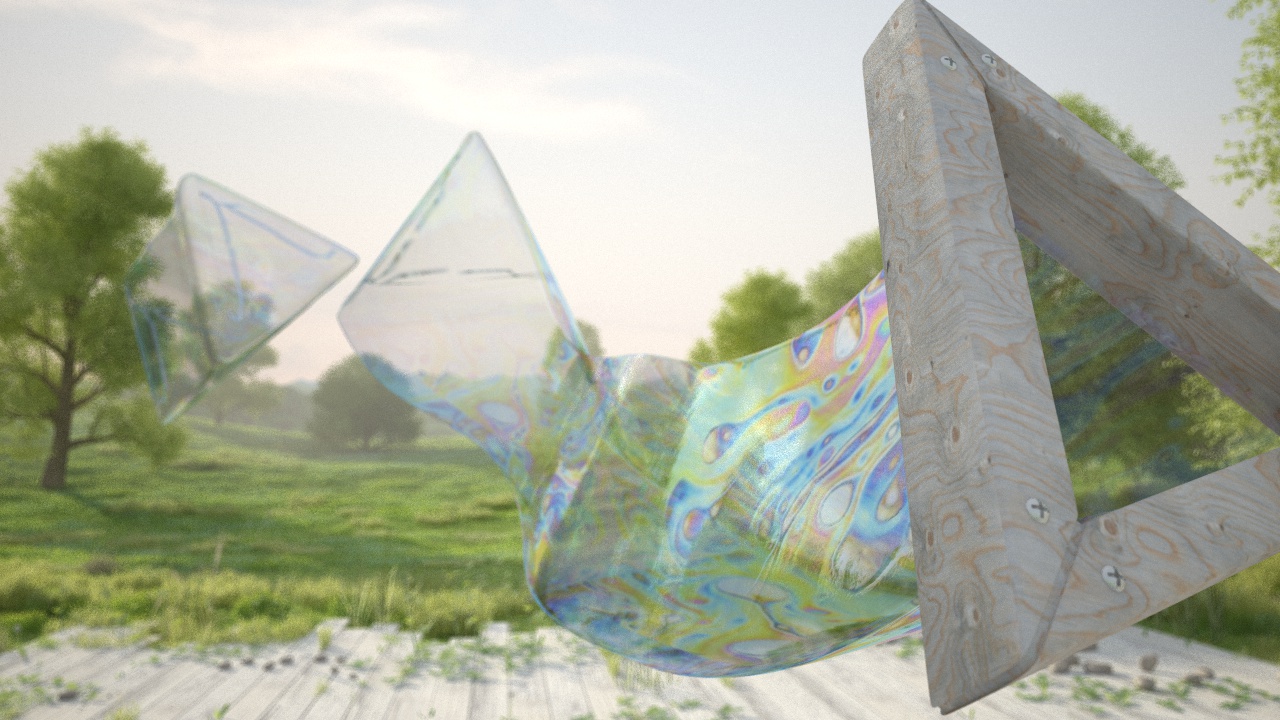
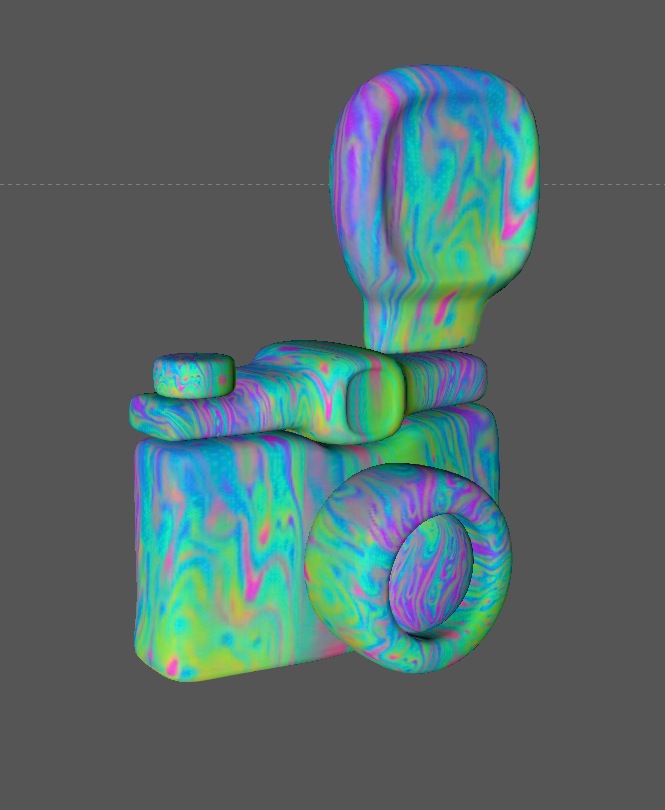
While researching existing solutions for CG bubbles I quickly realised that there are not a lot of great examples, and for one good reason: Its very difficult to produce something that doesn't look highly stylised or sculptural. Below are some initial tests using found photo textures as a starting point for the thin film surfaces.
Note: The environment is covered in detail later on!
One initial direction of exploration was the bubbles forming recognisable shapes, however it was soon clear that the story was a not as strong and the bubbles were formally too unrecognisable to retain any semblance of a realistic bubble behaviour. As can be seen in later developments, a simpler story of two bubbles meeting and joining was decided upon.
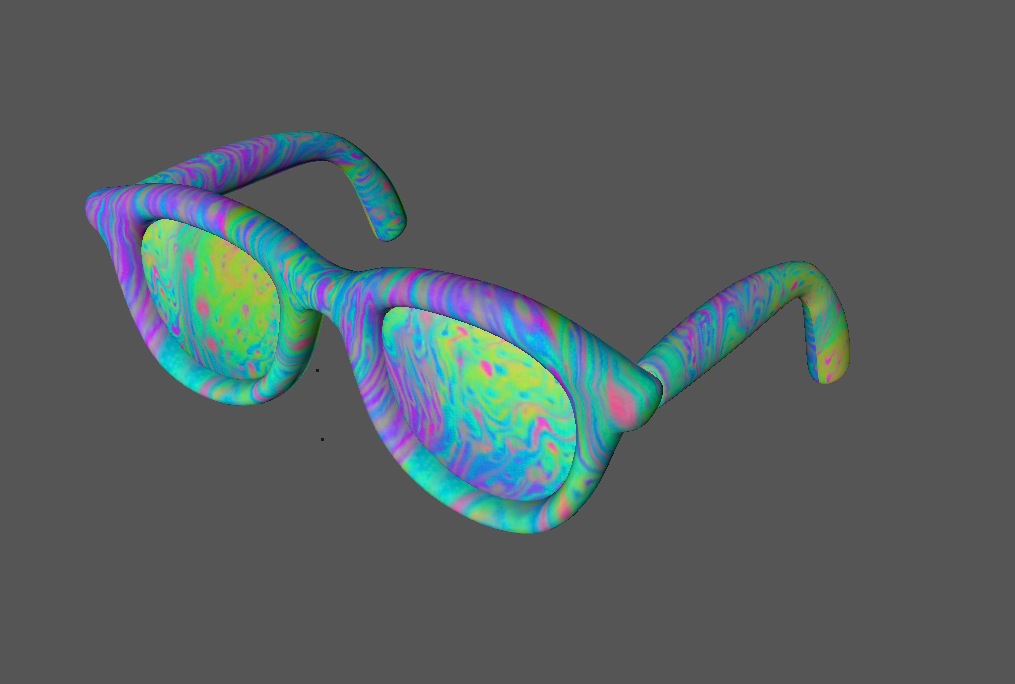
The UV mapping process did bring back childhood memories of the toffee flavoured ice lolly in the UK.. Zap!
BUBBLE TEXTURING
From the first utterance of the word 'bubble' we knew this was going to be a challenge, there is a lot of technical information regarding the 'thin film surface' phenomenon ut there but translating that to a C4D Vray shader would be impossible or futile. It came down to producing an animated map that was beautiful, 'swirly' and detailed enough to provide the opportunity for close-up HD shots.
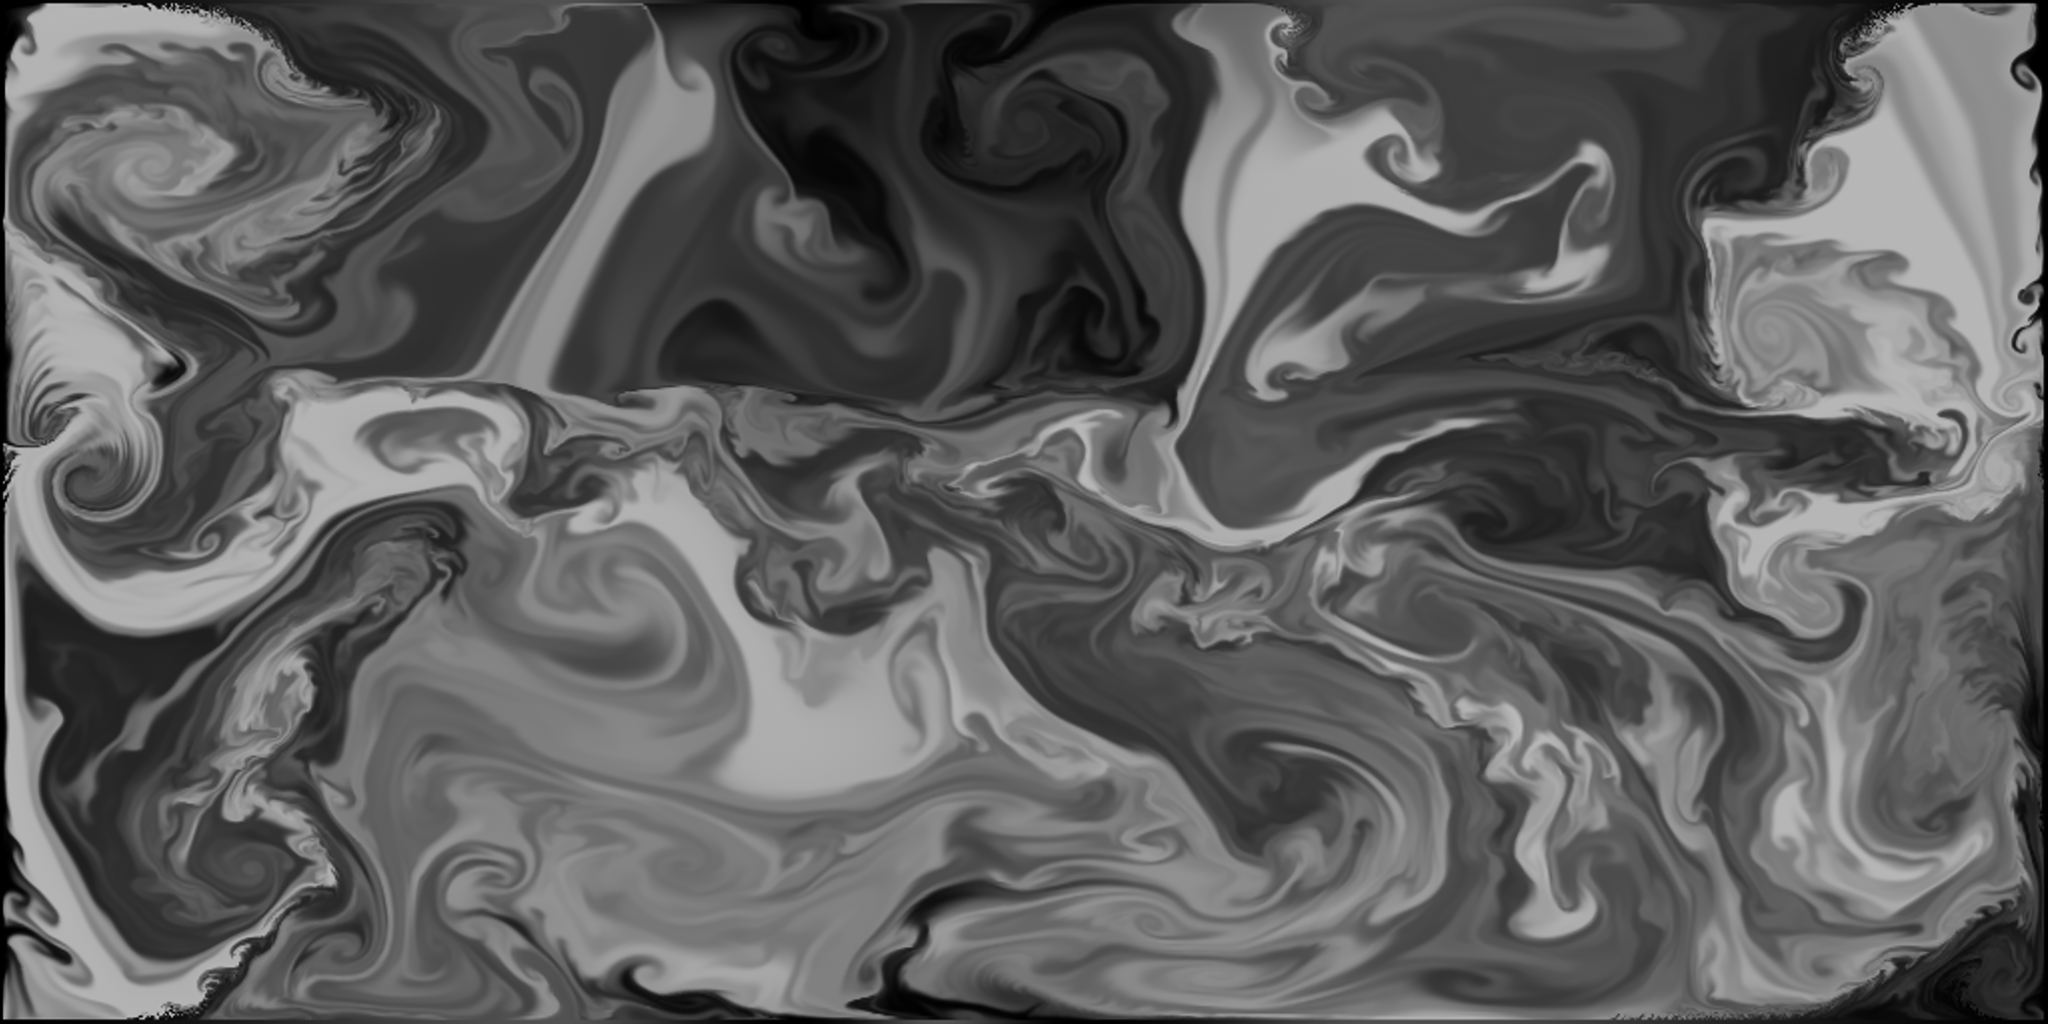
I was initially very keen to try and use filmed photographic textures to provide the desired realism but it wasn't plausible with our limited expertise in that area and time constraints. Instead, Julius used Remotion's PhyFluids (a 2D liquid solver) to create 4k animated maps that I plugged into my shaders using a gradient coloriser.
Note: See the video at the top for an animated clip
A frame from our animated 'swirling surface' texture. Created with Remotion PhyFluid plugin for C4D
ENVIRONMENT DEVELOPMENT
The connecting theme throughout the other four spots was the action took place within a confined space. The acoustic environment was a little different but still had to retain some kind of main area where the story would start and finish so I created a room leading out to an extended front deck with open concrete walls.
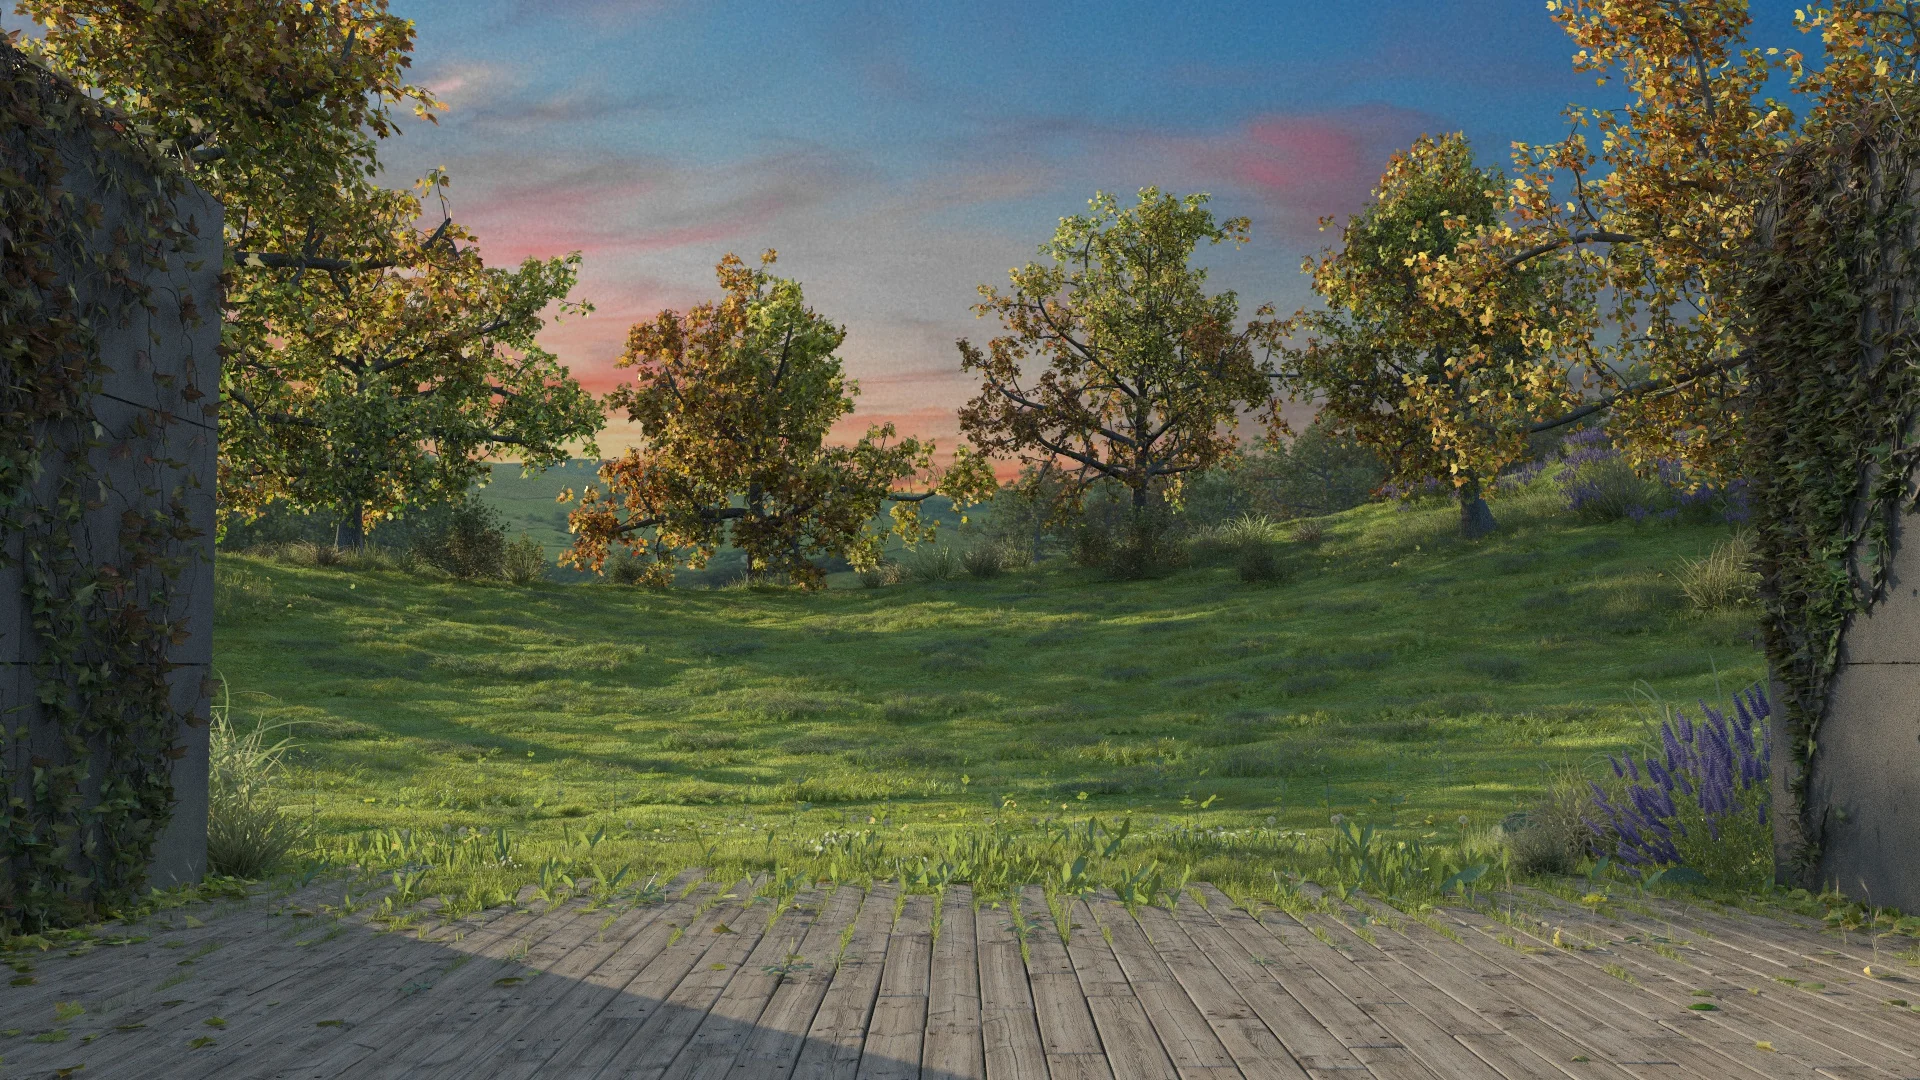
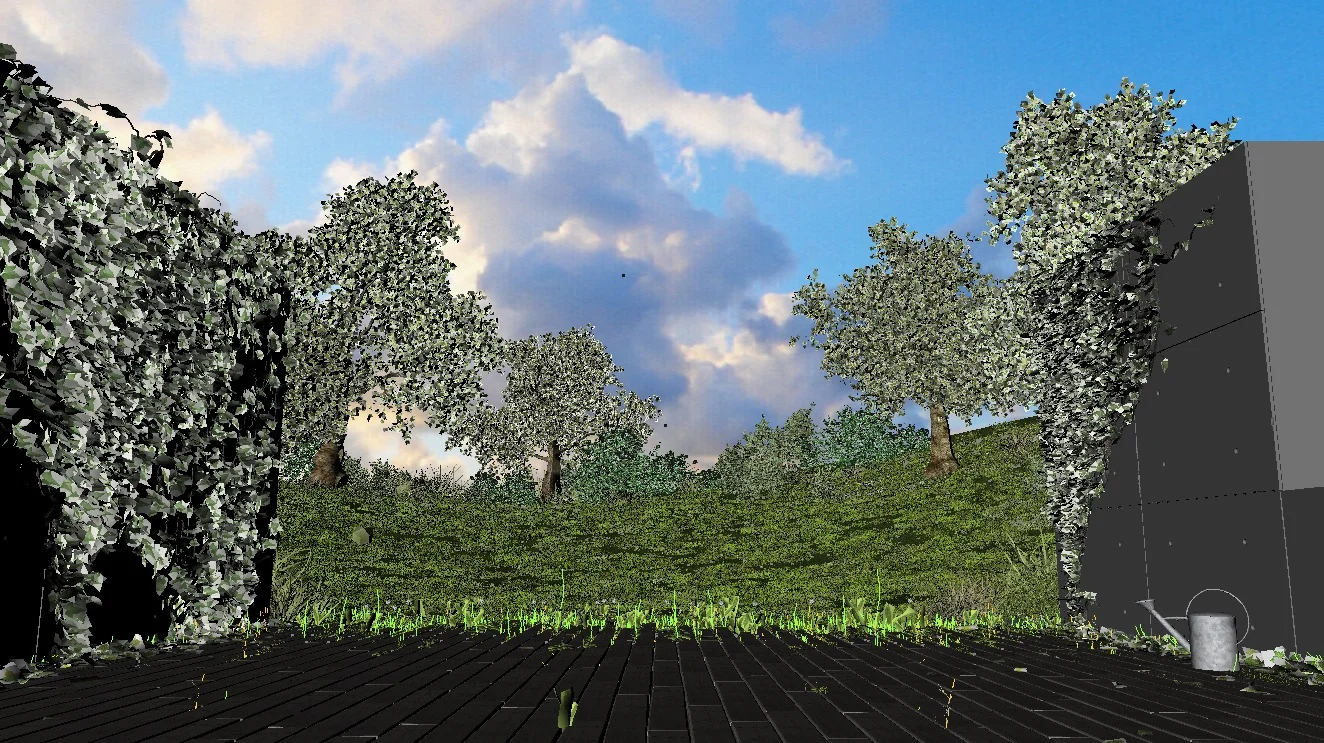
The foliage would obviously be the main challenge but there were also some interesting details in the architecture. I used very high resolution texture maps for the wooden floors and concrete walls but didn't rely solely on them. I like to create geometry where feasible to create an extra level of depth.
TREES AND PLANTS
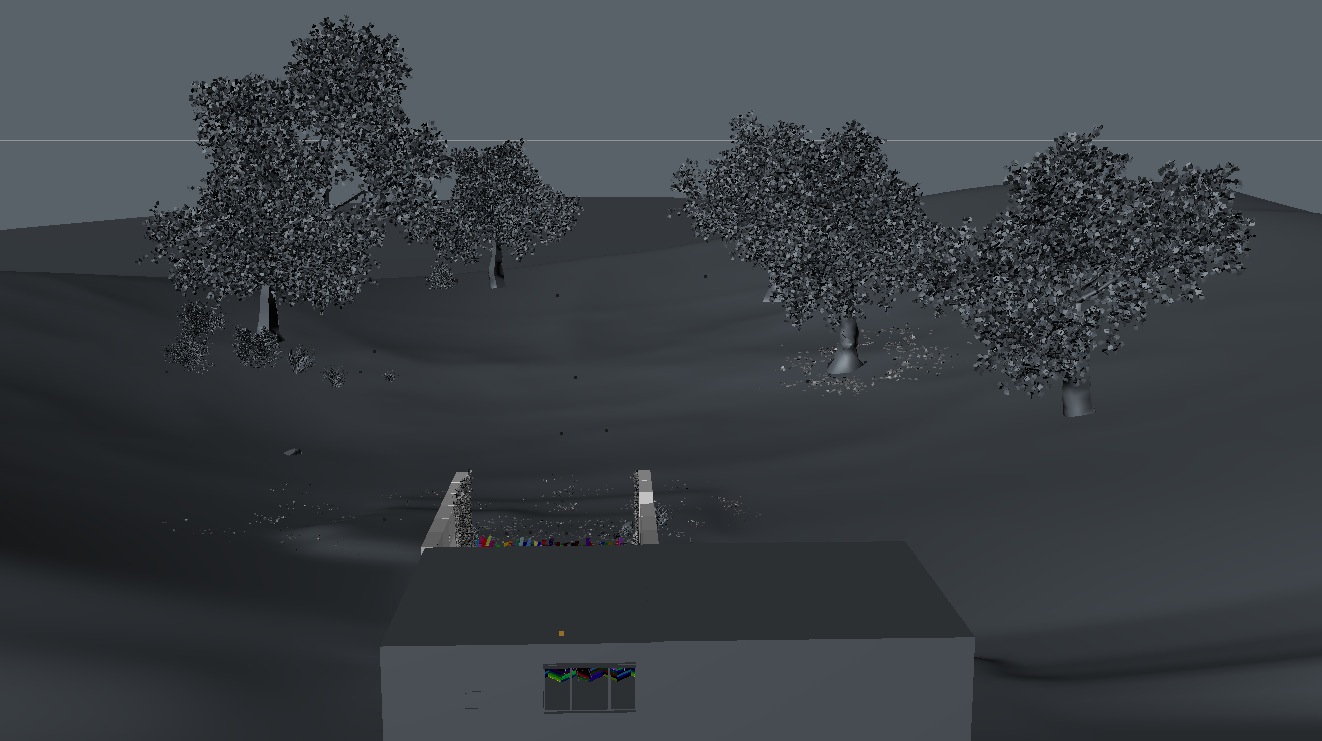
I used DPIT Plants & Trees to create the main trees and peripheral shrubs and plants. It is a very robust tool that works inside C4D to create great models of trees. It works parametrically to add as many branch and leaf levels (and 'extras' for fruit or flowers) as required. It also works with Cinema's particle forces to add motion but due to render time constraints I couldn't really afford for my background to have moving elements with such highly detailed geometry throughout.
My favourite thing about the trees it creates is that it outputs a perfect quad mesh that can be smoothed with hypernurbs. No 'stuck on' branches and broken seams like a lot of other tree creation solutions. This makes it very easy to UV map and texture the bark using Photoshop and Bodypaint.
The leaves are simple planes and randomly split into a few selections per tree to assign various leaf materials. To break up the uniform randomness of this I painted a vertex map to plug into the leaf materials for some tonal variation. An exaggerated 'autumnal' example of this technique is shown in the last image below but was obviously dialled back in the final render.
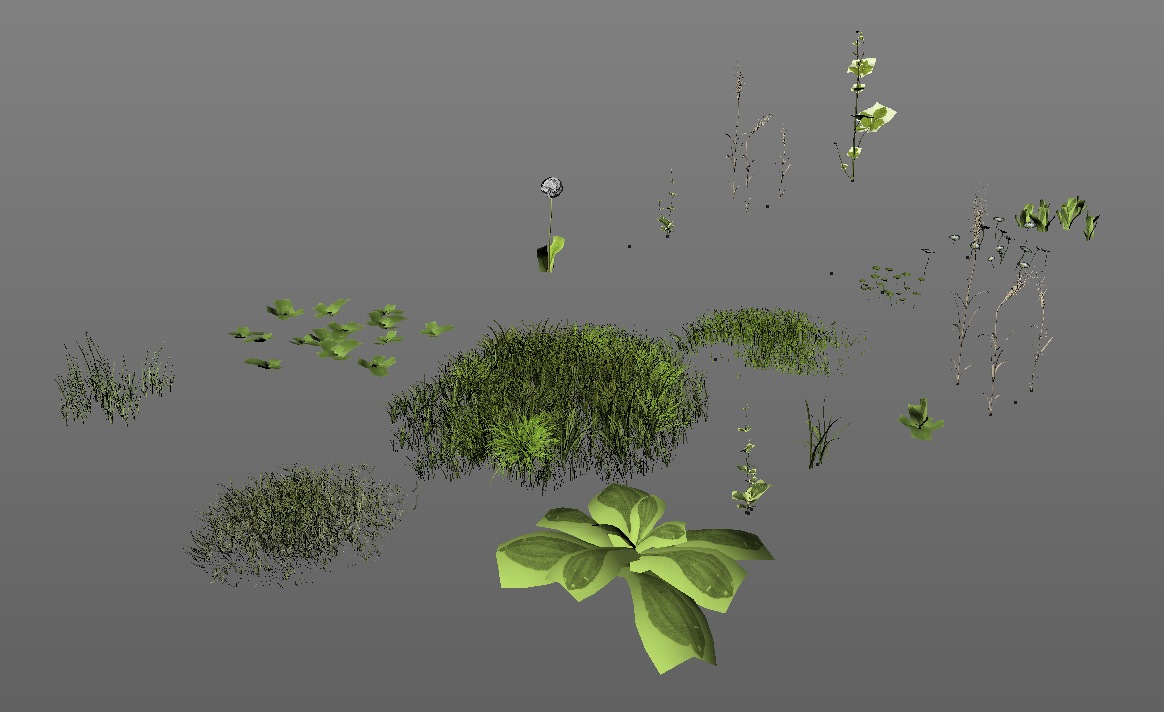
For the grass and weeds I used almost exclusively the set of 'Real Ground Plants' from Exorbit-Art. I modified some models and shaders, mainly to provide more gentle falloff for the grass to try and reduce the patchiness but I can highly recommend this set of high quality assets. I also made some original weeds and small clumps of grass for the deck.
SCENE WORKFLOW
I cannot stress enough how important scene organisation and optimisation is. It makes working within a file faster and more fun, as well as reducing render times drastically. Especially in C4D were the tendency is to become enamoured with the ability to keep everything parametric for as long as possible, a scene can very quickly become frustrating once all those generators and deformers start adding up. Save a labelled version of your file with parametric models and animation, collapse, bake, and move on with your life!
I use render instances (therefore 'Vray Proxy 2') for everything I can, and collapse everything to as few polygon objects as possible when it comes to render time. I also use a lot of simple Xpresso to create scene switches to flip between proxies, temporarily turn off elements and control other settings.
The layer system in C4D leaves a lot to be desired (no 'mute' button, hard to work with hierarchies, can't animate or be accessed via Xpresso - although it can be accessed by Python...) but I still use it extensively. It is the only way to 'quickly' turn off generators, deformers and expressions for a group of objects - don't be fooled that turning an object off in the viewport will give you much of a speed boost, polygons are the least of your worries! When you have thousands of objects, you need to be able to really switch them off!
ANIMATION
Here is a collection of clips, starting with some reference footage we shot in the studio to see how bubbles reacted in various situations. There are some animation tests and also a 'final' previs.
FINAL PROJECT STILLS
View the final project here.
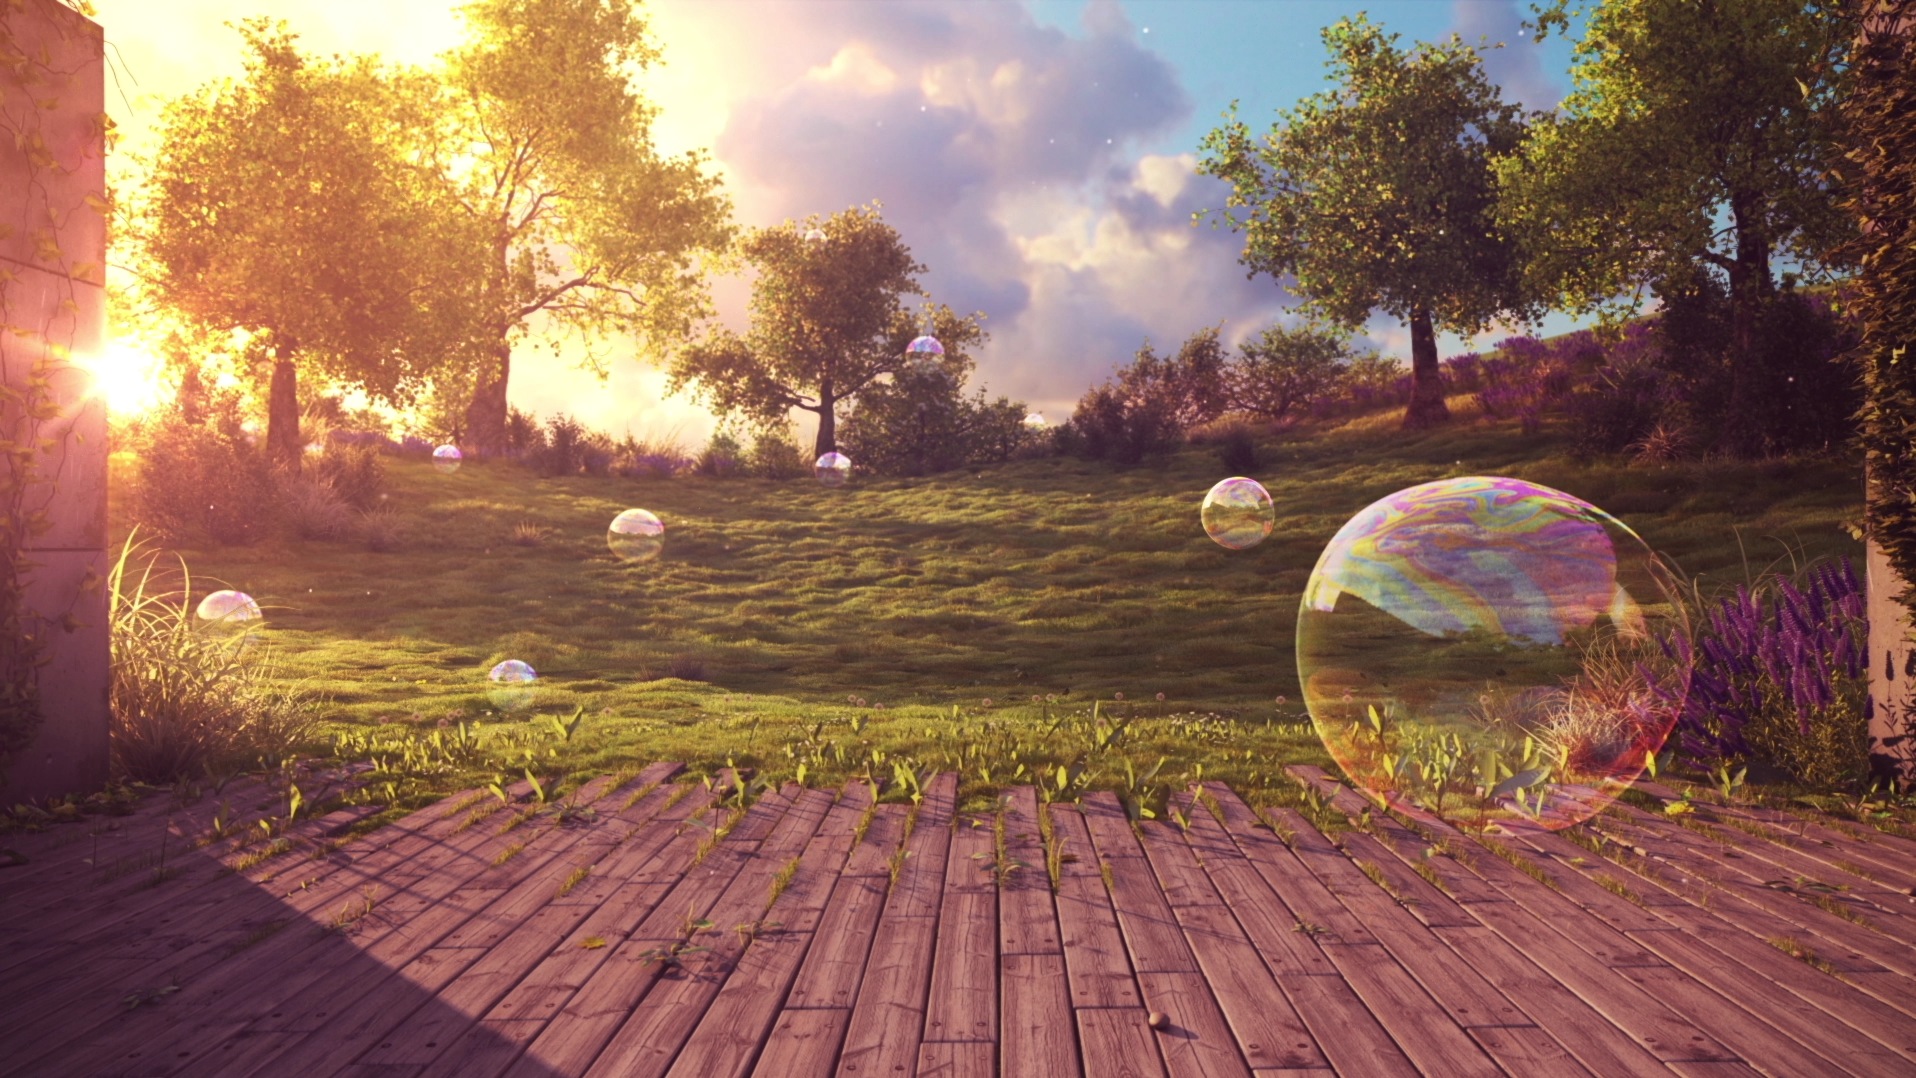
Marian used After Effects to composite and grade the final sequence to create a really warm, idealistic mood and enhance the details in the render
