3D Motion Designer based in Manchester UK
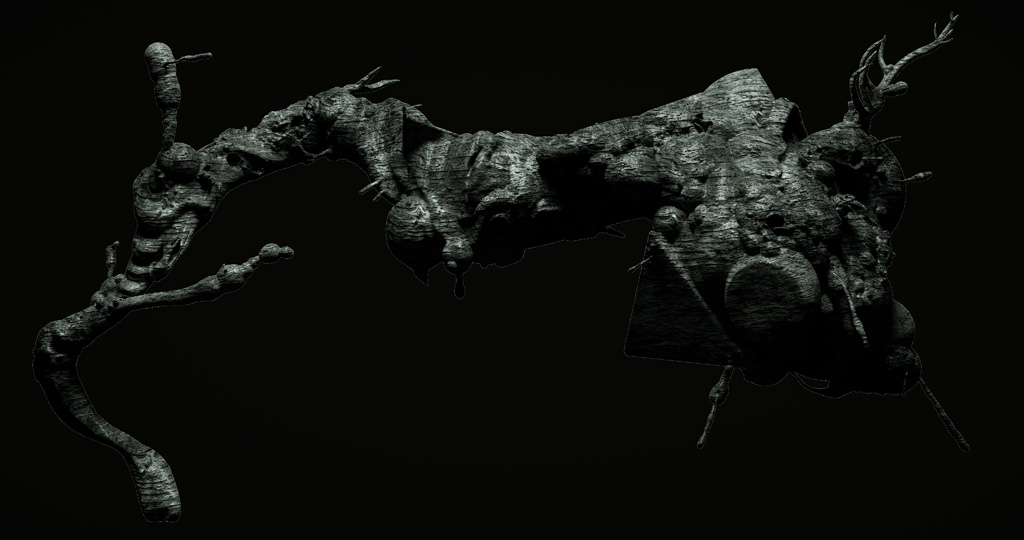
666 FRAMES - FRAME 381 "HERITAGE"
INTRODUCTION
I was invited to take part in this international collaboration celebrating the darker side of art, culture and history. I took inspiration from the dark history of Norwegian black metal (research that yourself if you dare), charred wood crawling with secrets.
View the project with more information here.
SETUP
Because this was a simple studio setup lit from above I didn't spend very long setting up a proxy model and rough base mesh for the shape of my sculpt. I decided to work with Octane for this project, I wanted to spend no more than a day to produce the image so quickly tweaking lighting and materials would prove to be a huge benefit.
One thing I have not yet figured out is how to create a background plate that is unaffected by lights; it is possible to use a spherical background, but so far the easiest way i found to line geometry up with a rectangular frame is to create a plane with the same proportions as the frame and line it up with the edges of the camera view. Not ideal, but for a quick project it did the job until I find the correct way (or request one if one doesn't exist!)


SCULPTING
I used voxel sculpting in 3D Coat to work quickly and intuitively. I had a library of animal skulls for a larger upcoming project (watch this space..) that I was able to work into the larger structure. They are quite visible in this software shading preview but I wanted them to be very subtle in the final frame.


RENDERING
Setting up the lighting and material was a breeze for this project in Octane. I exported very high poly geometry from 3D Coat and brought it into C4D (making a low poly proxy of course, to retain viewport speed). There is no displacement functionality (yet?) in Octane, but for a single frame I would usually use the original mesh anyway to retain every small detail, especially as the final frame was to be rendered at 5k.
I made a huge wood tiling texture, made a normal map using Crazy Bump (Octane loves normal maps rather than bump) and a specular map and quickly built the Octane shader. Being able to export the scene once to Live Viewer and tweak lights and materials in real time is liberating, I had dialed in my settings within minutes and rendered the 5k version in only a few more minutes.


COMPOSITING
I actually use a mix of After Effects and Photoshop for most of my still compositing. AE has much more flexible tools for applying blur and grain so I do a rough comp there before adding final tweaks in PS. I crushed the highlights down quite far to give the wood a blackened burned look and allowed the shadows to get low enough in some areas to lose detail to match with the original footage.


CLOSEUPS
Some extra details I captured of the sculpt, click to enlarge. View the 666 Frames project here.


